Stop Marks, Starting Marks and Setting Shed in Weaving
Is important to start by
explaining that the stop marks and starting marks are common defects in
the weaving, the difference, which can be an advantage or a disadvantage, is
due to the characteristics of the fabric that makes these defects are more
notorious or less notorious.
The intention of this publication is to explain the main criteria to control
and repair these defects, the textile adjustments made must first seek to
reduce or eliminate machine stoppages, warp stop and weft stop, then eliminate
or attenuate stop or starting marks.
|
|
|
Fig: Starting marks |
First, we must recognize the
types of defects that can occur in the fabric for a stop mark or a start mark:
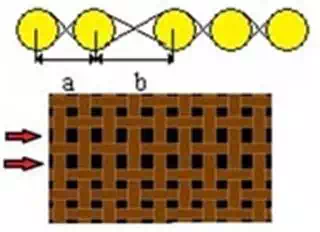
1. Open Marks:
It occurs when one or more picks are separated leaving a horizontal line open.
This failure usually occurs in fabrics with low cover factor.
|
|
|
|
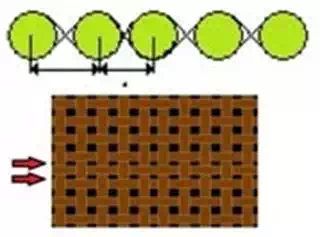
2. Dense Marks:
It occurs when one or more picks are together leaving a closed horizontal line.
This failure usually occurs in light-weight fabrics.
|
|
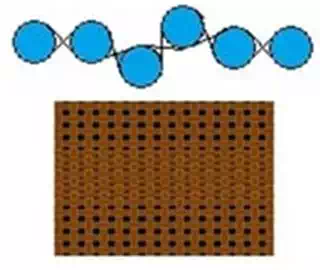
3. Wavy Marks:
It is produced when more than one picks is superimposed, one above the other,
leaving a horizontal band that is uneven and closed. This failure occurs in
heavy fabrics, twills or satins with high cover factor and always at
machine start-up.
|
|
The next step is to determine what type of defect is occurring and if it is generated at machine stoppage or startup. For this, there is a simple procedure for testing stop and start marks:
1. Cause a stoppage of the loom, by warp and by weft.
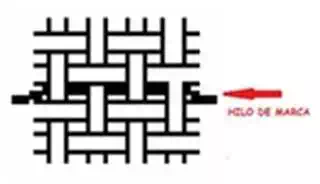
2. Insert a color yarn approximately 10 to 20 cm in front of the last inserted picks.
3. Wait for one to three minutes.
4. Start the loom.
5. Check the type of defect, open or dense, and if this defect occurs before or after the color yarn used as a mark; this way, we determine if the failure occurred at stoppage or at machine start-up.
6. To realize various tests with different regulations, minimum 20 cm distance between one and another test.
|
|
|
|


