Plastic Part Design Fundamentals
Gates and Parting Lines
Gates
Each plastic part design must have a ‘gate’, or an opening that allows the molten plastic to be injected into the cavity of the mold. There are several styles of gates that are commonly used in molding.
Care and consideration should be taken when selecting a gate when designing your plastic part.
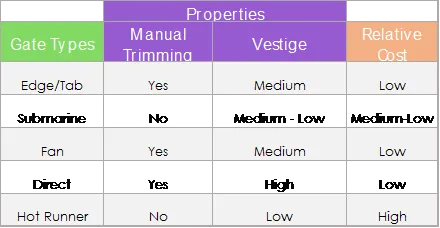
Gate type, design and location can have effects on the part such as part packing, gate removal or vestige, cosmetic appearance of the part, and part dimensions & warping. A list of commonly utilized gate shapes is offered below:
commonly utilized gate shapes
Gate Locations
To avoid problems in plastic part design from your gate location, below are some guidelines for choosing the proper gate location(s):
Rex Plastics will analyze each part individually and recommend a best gate design based on the product requirements. If gate appearance is critical, Rex Plastics will propose the optimum location for customer approval.
Parting Lines
A ‘parting line’ is the line of separation on the plastic part where the two halves of the plastic injection mold meet. The line actually indicates the parting ‘plane’ that passes through the part. Within more basic plastic part design plans this plane can be a simple, flat surface, but it is often a complex form that traces the perimeter of the part around the various features that make up the part’s outer ‘silhouette’.
Keep in mind (that) the melt will always flow toward the parting line because it is the easiest place for the displaced air to escape, or vent.
Part lines can also occur where any two pieces of a mold meet. This can include side action pins, tool inserts and shutoffs. Parting lines cannot be avoided; every part has them. Keep in mind when considering plastic part design that the melt will always flow towards the parting line because it is the easiest place for the displaced air to escape, or ‘vent’.
Parting Lines can be split into two broad categories: Straight/Flat and Stepped/Curved. Examples of each are shown below:
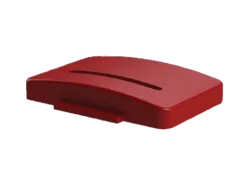
Straight/Flat
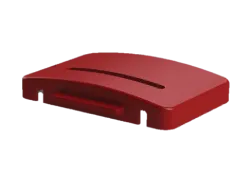
Stepped/Curved
Mouse Holes
Mouse holes can be a great way to get a cut-out in the side of a part without requiring a side action. Below is a typical example of a mouse hole.
Keep in mind when designing a mouse hole that there is ample draft on the side walls. In order for the metal to seal off, a minimum of 3° is recommended to increase tool life.
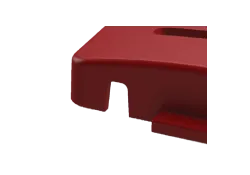
a typical mouse hole