Visual Inspection (VT)
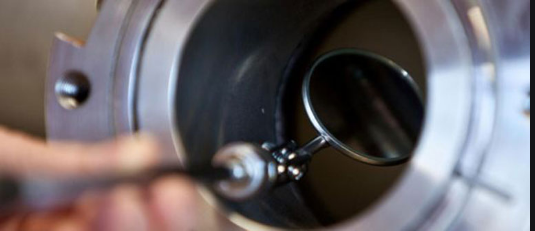
Visual inspection (VT) is arguably the oldest and most widely used NDT method there is. For thousands of years, craftsmen have used their eyes to determine the quality of the products they made. In essence, this is still the case with visual inspection. This method involves the visual observation of the surface of a test object to evaluate the presence of surface discontinuities such as corrosion, misalignment of parts, physical damage and cracks. Visual testing can be done by looking at the test piece directly, or by using optical instruments such as magnifying glasses, mirrors, borescopes and computer-assisted viewing systems. VT can be applied to inspect castings, forgings, machined components and welds and is used in all branches of industry.

VT Advantages:
· Low cost
· Portable equipment (if any)
· Immediate results
· Minimum special skills required
· Minimum part preparation
VT Limitations:
· Only suitable for surfaces than can be viewed
· Usually only larger defects can be detected
· Scratches can be misinterpreted for cracks
· Quality of inspection influenced by surface condition, physical conditions, environmental factors and physiological factors