Ultrasonic Testing Solution for Inspection of Aluminum Cast Molding Blocks
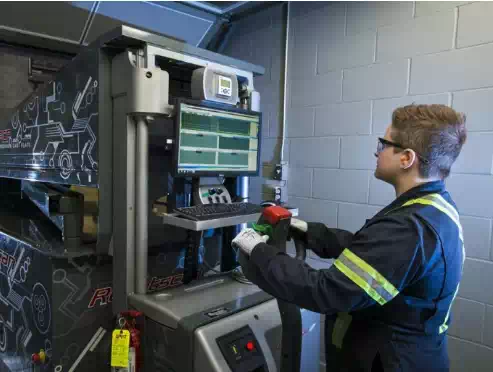
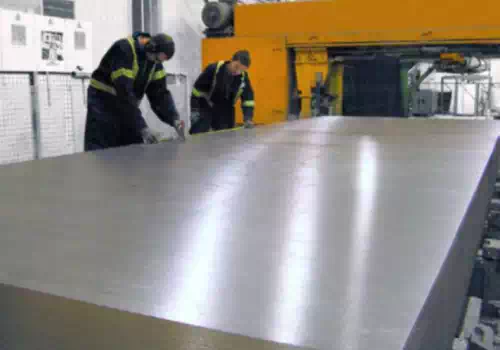
Cast aluminum molding plates or blocks are frequently used for large molds requiring extensive machining applications. They are characterized by excellent dimensional accuracy, stability and strength. Such casting technology uses direct chill (DC) vertical casting process to form precisely the aluminum ingot to the preferred plate/block size instead of hot rolling a thicker ingot down to thick plates size.
When using the DC-casting process for the production of larger aluminum ingots, plates and blocks, stringent quality control is required during and after the fabrication process to detect any stress crack defects and porosities.
Ultrasonic testing
Ultrasonic testing has several advantages for detecting and characterizing aluminum casting defects located in the material volume. These advantages include high probability of defects detection, inspection automation and less hazardous to environment compared to other non-destructive testing techniques.
Automated Inspection System
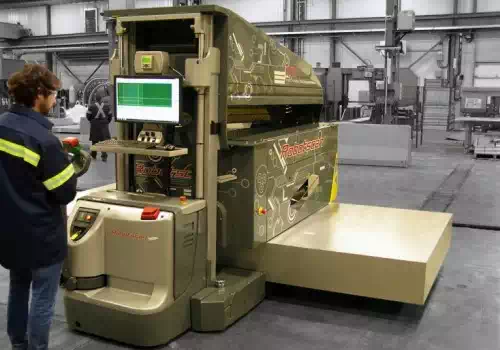
An automated ultrasonic system was designed to inspect aluminum cast plates and cast blocks. Such unique system is used to certify precision Aluminum Casting products by detecting defects in aluminum blocks up to 30’’ in thickness. Its detection level is such that it is capable of finding defects >0.04 inches in size.
The system configuration consists of a 2 axis scanner (X, Y) integrated in a carriage robot which can easily be driven by the inspector. The system houses all required electronics, a workstation, as well as 8 channels ultrasonic system. An array of 8 ultrasonic probes is also integrated to the system and attached to the X-axis of the system. TecView™ UT software package is used to perform the full ultrasonic inspection and calibration. Complete inspection reports are automatically generated with the recorded data for traceability of each inspected sample/block.
Testing Results
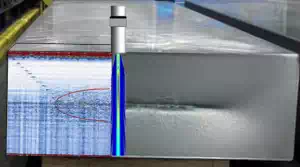
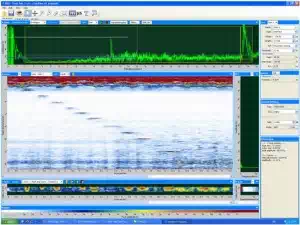
The aluminum cast plates and cast blocks samples were provided by PCP Canada for system development and procedure validation. Several aluminum blocks were inspected at very low scanning resolution and successful detection of natural voids was demonstrated with 100% coverage of the aluminum block, as presented below in the C-Scan. TecView™ UT display of A, B and C-Scan acquired on the cast aluminum block, simulated defects (FBH) appear as bright/red pixels in the C-Scan image.
Scanning direction
C-Scan results – TecView
