Create an augmented reality business card


While you’re still unsure about your AR unique business application, why not follow suit and practice something universal and still allowing you to make a mark – an augmented reality business card. Your brand promise makes you stand out from the crowd and bring attention to your company. This is what you can make your company remembered. When you meet a new client, the first thing you do is hand him a business card. What if I tell you that even such a simple thing as a business card can become augmented? Whether you’re starting up in business or crossing the chasm to maturity, coming across as an innovative tech-savvy company is equally important. An augmented reality business card may be your next big thing.

What is an augmented reality business card

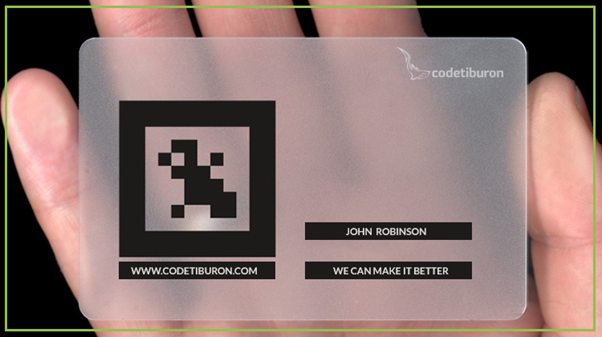
At first glance, it’s an ordinary card, but when you scan it with a smartphone or tablet, it opens up into a 3D product model. Wait! There is more. These business cards may include way more information and even product catalogs.

How to build an AR business card

Want to know the best part? Creating augmented reality experience with Aurasma studio is free.

  1. Create an account in Aurasma Studio.
  2. Select “Create New Aura”. Aura is an AR experience created via Aurasma Studio.
  3. Select a trigger image. A trigger is a printed-out or on-the-screen image that you use to view aura. For that, you just point your camera view onto a trigger and your smartphone screen will display AR elements. How to make a trigger image? You can upload a file from your computer or select a trigger already uploaded to your account.
  4. Select an image, give it a name, and then press “save”.
  5. Now you can edit your trigger. You can zoom in or out and add a mask (a geometrical shape that will strengthen a trigger image). Mask the areas that look not sharp or contrasting enough. Then hit “Next”.
  6. Now add overlays. Overlays are videos, links and images that launch from the selected trigger. Upload file from your computer or select the owne you already have in your account.
  7. Name your overlay and hit “Save”.
  8. Now you can edit your overlay, place and resize it the way you want. Hit “Next”.
  9. Give your Aura a name and save it.
  10. To view your first AR experience download Aurasma app, log in to your account and point your camera to the screen or printed trigger. Enjoy your AR experience!

Conclusion

Augmented reality apps are becoming widely used and accessible nowadays. Don’t be the last to reap the benefit. Creating an AR app is no arcane art. And we’ve proven, everyone can cope – from beginners to professionals. What’s your next step? Set your imagination free and envision how augmented reality technology can empower your business.