Android - Image Switcher
Sometimes you don't want an image to appear abruptly on the screen, rather you want to apply some kind of animation to the image when it transitions from one image to another. This is supported by android in the form of ImageSwitcher.
An image switcher allows you to add some transitions on the images through the way they appear on screen. In order to use image Switcher, you need to define its XML component first. Its syntax is given below −
<ImageSwitcher
android:id="@+id/imageSwitcher1"
android:layout_width="wrap_content"
android:layout_height="wrap_content"
android:layout_centerHorizontal="true"
android:layout_centerVertical="true" >
</ImageSwitcher>
Now we create an intance of ImageSwithcer in java file and get a reference of this XML component. Its syntax is given below −
private
ImageSwitcher imageSwitcher;
imageSwitcher = (ImageSwitcher)findViewById(R.id.imageSwitcher1);
The next thing we need to do implement the ViewFactory interface and implement unimplemented method that returns an imageView. Its syntax is below −
imageSwitcher.setImageResource(R.drawable.ic_launcher);
imageSwitcher.setFactory(new ViewFactory() {
public View makeView() {
ImageView myView = new ImageView(getApplicationContext());
return myView;
}
}
The last thing you need to do is to add Animation to the ImageSwitcher. You need to define an object of Animation class through AnimationUtilities class by calling a static method loadAnimation. Its syntax is given below −
Animation in = AnimationUtils.loadAnimation(this,android.R.anim.slide_in_left);
imageSwitcher.setInAnimation(in);
imageSwitcher.setOutAnimation(out);
The method setInAnimaton sets the animation of the appearance of the object on the screen whereas setOutAnimation does the opposite. The method loadAnimation() creates an animation object.
Apart from these methods, there are other methods defined in the ImageSwitcher class. They are defined below −
|
Sr.No |
Method & description |
|
1 |
setImageDrawable(Drawable drawable) Sets an image with image switcher. The image is passed in the form of bitmap |
|
2 |
setImageResource(int resid) Sets an image with image switcher. The image is passed in the form of integer id |
|
3 |
setImageURI(Uri uri) Sets an image with image switcher. THe image is passed in the form of URI |
|
4 |
ImageSwitcher(Context context, AttributeSet attrs) Returns an image switcher object with already setting some attributes passed in the method |
|
5 |
onInitializeAccessibilityEvent (AccessibilityEvent event) Initializes an AccessibilityEvent with information about this View which is the event source |
|
6 |
onInitializeAccessibilityNodeInfo (AccessibilityNodeInfo info) Initializes an AccessibilityNodeInfo with information about this view |
Example
The below example demonstrates some of the image switcher effects on the bitmap. It crates a basic application that allows you to view the animation effects on the images.
To experiment with this example , you need to run this on an actual device.
|
Steps |
Description |
|
1 |
You will use Android studio IDE to create an Android application under a package com.example.sairamkrishna.myapplication. |
|
2 |
Modify src/MainActivity.java file to add necessary code. |
|
3 |
Modify the res/layout/activity_main to add respective XML components |
|
4 |
Run the application and choose a running android device and install the application on it and verify the results |
Following is the content of the modified main activity file src/MainActivity.java.
In the below code tp and abc indicates the logo of softecks.com
package com.example.sairamkrishna.myapplication;
import android.app.Activity;
import android.app.ActionBar.LayoutParams;
import android.os.Bundle;
import android.view.View;
import android.widget.Button;
import android.widget.ImageSwitcher;
import android.widget.ImageView;
import android.widget.Toast;
import android.widget.ViewSwitcher.ViewFactory;
public class MainActivity extends Activity {
private ImageSwitcher sw;
private Button b1,b2;
@Override
protected void onCreate(Bundle savedInstanceState) {
super.onCreate(savedInstanceState);
setContentView(R.layout.activity_main);
b1 = (Button) findViewById(R.id.button);
b2 = (Button) findViewById(R.id.button2);
sw = (ImageSwitcher) findViewById(R.id.imageSwitcher);
sw.setFactory(new ViewFactory() {
@Override
public View makeView() {
ImageView myView = new ImageView(getApplicationContext());
myView.setScaleType(ImageView.ScaleType.FIT_CENTER);
myView.setLayoutParams(new
ImageSwitcher.LayoutParams(LayoutParams.WRAP_CONTENT,
LayoutParams.WRAP_CONTENT));
return myView;
}
});
b1.setOnClickListener(new View.OnClickListener() {
@Override
public void onClick(View v) {
Toast.makeText(getApplicationContext(), "previous
Image",
Toast.LENGTH_LONG).show();
sw.setImageResource(R.drawable.abc);
}
});
b2.setOnClickListener(new View.OnClickListener() {
@Override
public void onClick(View v) {
Toast.makeText(getApplicationContext(), "Next
Image",
Toast.LENGTH_LONG).show();
sw.setImageResource(R.drawable.tp);
}
});
}
}
Following is the modified content of the xml res/layout/activity_main.xml.
<?xml version="1.0" encoding="utf-8"?>
<RelativeLayout
xmlns:android="http://schemas.android.com/apk/res/android"
xmlns:tools="http://schemas.android.com/tools"
android:layout_width="match_parent"
android:layout_height="match_parent"
android:paddingLeft="@dimen/activity_horizontal_margin"
android:paddingRight="@dimen/activity_horizontal_margin"
android:paddingTop="@dimen/activity_vertical_margin"
android:paddingBottom="@dimen/activity_vertical_margin"
tools:context=".MainActivity">
<TextView android:text="Gestures Example"
android:layout_width="wrap_content"
android:layout_height="wrap_content"
android:id="@+id/textview"
android:textSize="35dp"
android:layout_alignParentTop="true"
android:layout_centerHorizontal="true" />
<TextView
android:layout_width="wrap_content"
android:layout_height="wrap_content"
android:text="Softecks"
android:id="@+id/textView"
android:layout_below="@+id/textview"
android:layout_centerHorizontal="true"
android:textColor="#ff7aff24"
android:textSize="35dp" />
<ImageSwitcher
android:layout_width="wrap_content"
android:layout_height="wrap_content"
android:id="@+id/imageSwitcher"
android:layout_below="@+id/textView"
android:layout_centerHorizontal="true"
android:layout_marginTop="168dp" />
<Button
android:layout_width="wrap_content"
android:layout_height="wrap_content"
android:text="@string/left"
android:id="@+id/button"
android:layout_below="@+id/textView"
android:layout_centerHorizontal="true" />
<Button
android:layout_width="wrap_content"
android:layout_height="wrap_content"
android:text="@string/right"
android:id="@+id/button2"
android:layout_alignParentBottom="true"
android:layout_alignLeft="@+id/button"
android:layout_alignStart="@+id/button" />
</RelativeLayout>
Following is the content of Strings.xml file.
<resources>
<string name="app_name">My Application</string>
<string name="left"><![CDATA[<]]></string>
<string name="right"><![CDATA[>]]></string>
</resources>
Following is the content of AndroidManifest.xml file.
<?xml version="1.0" encoding="utf-8"?>
<manifest
xmlns:android="http://schemas.android.com/apk/res/android"
package="com.example.sairamkrishna.myapplication"
<application
android:allowBackup="true"
android:icon="@drawable/ic_launcher"
android:label="@string/app_name"
android:theme="@style/AppTheme" >
<activity
android:name="com.example.sairamkrishna.myapplication.MainActivity"
android:label="@string/app_name" >
<intent-filter>
<action android:name="android.intent.action.MAIN" />
<category android:name="android.intent.category.LAUNCHER" />
</intent-filter>
</activity>
</application>
</manifest>
Let's
try to run your application we just modified. I assume you had created your AVD
while doing environment setup. To run the app from Android studio, open one of
your project's activity files and click Run  icon
from the toolbar. Android studio installs the app on your AVD and starts it and
if everything is fine with your setup and application, it will display
following Emulator window −
icon
from the toolbar. Android studio installs the app on your AVD and starts it and
if everything is fine with your setup and application, it will display
following Emulator window −
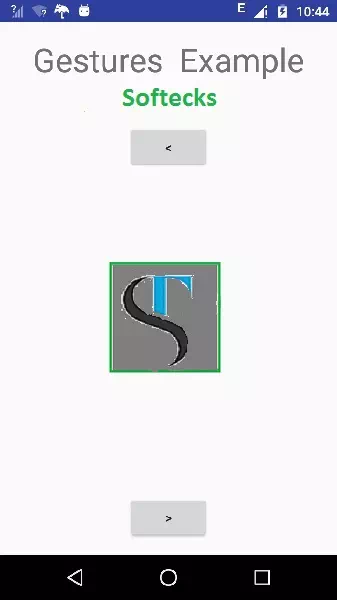
Now if you will look at your device screen , you will see the two buttons.
Now just select the upper button that right arrow. An image would appear from right and move towards left. It is shown below −
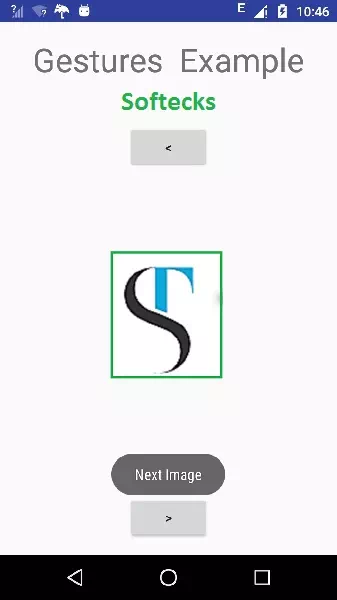
Now tap on the below button, that will bring back the previous image with some transition. It is shown below −